

Laminated Veneer
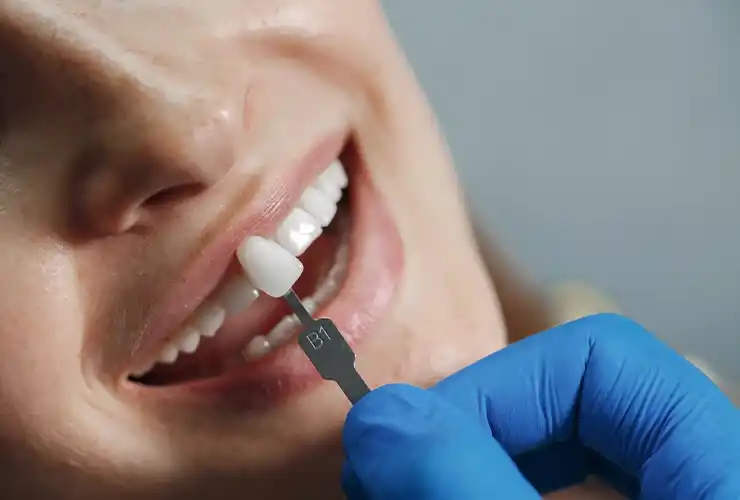
This method is especially suitable for people with discoloration, deformity, small cracks, fractures or gaps in their teeth. It is possible to achieve impressive results with only a superficial application without changing the structure of the teeth to a great extent. Since laminate veneers reflect light like natural teeth, they offer a very aesthetic appearance both in daylight and artificial light. It best meets the search for a natural look, especially in people who want to have a smile aesthetic.
The treatment process is quite comfortable. In general, the patient's mouth is measured in the first session and the teeth are shaped very lightly. In the second session, the laminate veneers specially prepared for the person are placed on the teeth and fixed with a special adhesive. The patient does not feel any pain or ache during the procedure, which makes the procedure more attractive.
Is Laminate Coating the Right Choice?

The laminate veneer application is based on a careful planning and precise application process that requires expertise in the field of aesthetic dentistry. This process is usually completed in 2 to 3 sessions, and each stage is planned specifically according to the needs of the person.
1. Examination and Planning
The first step is a detailed examination and evaluation of the patient’s expectations. The dentist determines whether the patient is suitable for laminate veneer by examining the patient’s oral structure, dental and gum health. When designing the smile, the person’s facial features, lip structure and smile line are also taken into consideration. At this stage, a preview of the image that will be formed after the treatment can also be made with technologies such as digital smile design (DSD).
2. Tooth Preparation
Laminate veneer is a “minimally invasive” application, meaning it is performed with minimal intervention. A very thin layer – usually 0.3 to 0.7 mm – is abraded from the front surface of the teeth. This is necessary for the porcelain leaves to adhere to the natural teeth in a compatible way. However, in some cases, it may be possible to apply without any abrasion (no-prep veneer). During the grinding process, the patient usually does not feel pain and often does not even require anesthesia.
3. Taking Impressions and Temporary Veneers
After the teeth are prepared, precise measurements are taken. These measurements are taken with digital or traditional methods so that the veneers can be prepared specifically for the patient in the laboratory. Temporary veneers can be made to prevent any discomfort during this process. In this way, the patient both protects their teeth and feels comfortable during the process.
4. Preparation of Porcelain Leaves
Special porcelain leaves are prepared by dental technicians according to the measurements taken. These leaves are carefully designed in accordance with the person’s tooth color, shape and general aesthetic expectations. Porcelain materials best imitate the appearance of natural teeth thanks to their durability and light transmittance.
5. Bonding
In the final stage, the laminate veneers prepared are fixed to the front surface of the teeth one by one by the dentist with a special adhesive. After the adhesive hardens, final corrections are made and the laminate veneers are polished to give a natural and smooth appearance. When this stage is completed, the patient now has a brand new, aesthetic and healthy smile.
6. Control and Follow-up
A control appointment is planned within a few days after the application. In this control, the gum compatibility of the veneers, whether there is any discomfort during chewing and the aesthetic appearance are evaluated. As long as the patient continues oral care as recommended by the dentist, the veneers can be used without any problems for many years.